Base64 encoding and AJAX can be used to send binary data, like images, to the server in a text format. This is particularly useful when you want to upload images or any other binary files to the server without reloading the page. The image (or any other binary file) is first converted into a Base64 encoded string and then sent to the server using AJAX. This allows for a smooth user experience as the page doesn’t need to be reloaded.
What is Base64 Encoding?
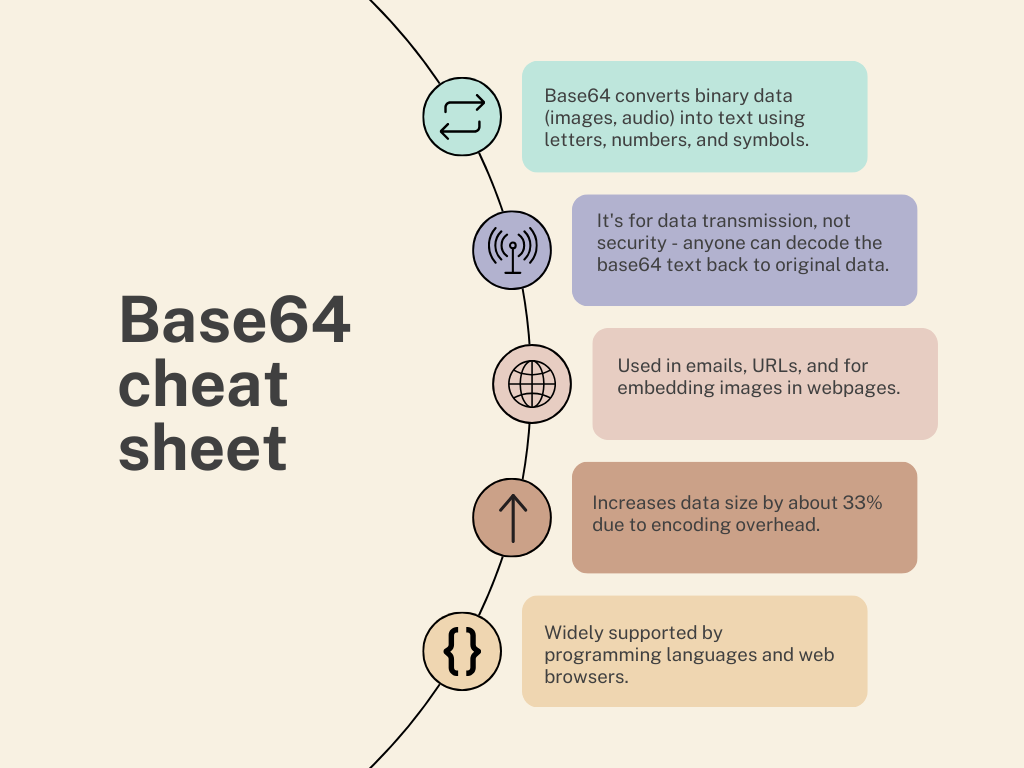
Base64 encoding is a binary-to-text encoding scheme that transforms binary data into an ASCII string format. The encoding process involves converting the binary data into a series of 6-bit integers. These integers are then represented as a set of printable characters from a list of 64 different types of characters, including A-Z, a-z, 0-9, +, and /.
The basic goal of Base64 encoding is to represent binary data in a format that looks and behaves like English. This enables the safe encoding and transmission of binary data without data loss or alteration.
The production of data URIs is one of the most common applications of Base64 encoding. Web developers can use data URIs to embed tiny files inline in pages. This can improve loading speed by minimizing the amount of HTTP queries for external resources.
However, it’s important to note that Base64 isn’t an encryption or hashing method. It’s a way to encode data, and it’s completely reversible. That means anyone who has access to the Base64-encoded data can easily decode it back into its original format.

What is AJAX?
AJAX (Asynchronous JavaScript and XML) is a set of web development techniques that allows a web page to update and display new data without having to reload the entire page. AJAX works by asynchronously (in the background) delivering and receiving data between a client’s browser and a web server.
The key components of AJAX include:
- JavaScript: JavaScript is used to make the request to the server and handle the response. It’s also used to update the HTML DOM, which is essentially the structure of the webpage.
- XMLHttpRequest: This is a built-in browser object that JavaScript can use to exchange data with a web server. Despite its name, it can be used to retrieve any type of data, not just XML, and it supports protocols other than HTTP.
- JSON/XML: These are popular formats for transferring data between the client and server. JSON (JavaScript Object Notation) has become more popular in recent years due to its efficiency and ease of use with JavaScript.
The fundamental advantage of AJAX is that it provides a fluid user experience by updating only areas of a web page without requiring a full page reload. This can dramatically increase performance and make a website feel more like a native app.
However, AJAX has significant drawbacks. AJAX, for example, will not work if the user has deactivated JavaScript in their browser. Furthermore, because AJAX updates happen in the background, screen readers and other assistive technology may miss them.

How Does AJAX Work?
AJAX works by using a set of web technologies together to send and retrieve data from a server asynchronously, without interfering with the display and behavior of the existing web page. Here’s a step-by-step breakdown of how AJAX works:
- A JavaScript event is triggered: This could be a user clicking a button, a form submission, or even just a page load. Any event that can be detected with JavaScript can trigger an AJAX call.
- An XMLHttpRequest object is created: The XMLHttpRequest object is a developer’s dream, because you can update a web page without reloading the page, request data from a server – after the page has loaded, receive data from a server – after the page has loaded, send data to a server – in the background.
- The XMLHttpRequest object sends a request to the server: The request can be either “GET” or “POST”, and it can be sent to the same server or a different one (subject to CORS policies). The request can also include data to be sent to the server.
- The server processes the request: The server-side script (like PHP or ASP.NET) takes the incoming request, processes it (like saving data to a database or fetching data), and sends back a response.
- The XMLHttpRequest object receives the response: The response from the server is received by the XMLHttpRequest object, not the web page. This allows AJAX to work asynchronously, updating parts of the web page with new data from the server without reloading the entire page.
- JavaScript updates the HTML DOM: Once the response is received, JavaScript can then use it to update parts of the HTML DOM, effectively updating the web page in real time without requiring a full page reload.
It’s important to note that while AJAX was originally an acronym for Asynchronous JavaScript and XML, it’s not limited to just XML; AJAX applications can use other formats for sending and receiving data, like HTML or JSON.
Sending Base64 Encoded Images via AJAX
Sending Base64 encoded images via AJAX involves a few steps. Here’s how it works:
- Select or Capture the Image: The first step is to select or capture the image that you want to send. This could be done using a file input element or by capturing an image from a canvas.
- Read the Image as a Base64 String: Once you have the image, you can read it as a Base64 string using the FileReader API. The
readAsDataURLmethod reads the contents of the specified Blob or File. When the read operation is finished, the readyState becomes DONE, and the loadend is triggered. At that time, the result attribute contains a data: URL representing the file’s data. - Send the Base64 String via AJAX: After getting the Base64 string of the image, you can send it to the server using AJAX. You can use jQuery’s
$.ajaxmethod to send the data to the server.
Here’s an example of how you can do this:
// Import jQuery
<script src="/path/to/jquery.min.js"></script>

// Select your input type file and store it in a variable
const input = document.querySelector('#photo');

// Listener for 'change' event
input.addEventListener('change', () => {
  // Instantiate FileReader
  let reader = new FileReader();

  // Read the selected file as DataURL
  reader.readAsDataURL(input.files[0]);

  reader.onload = () => {
    // Make your AJAX request using jQuery
    $.ajax({
      url: '/your-endpoint',
      type: 'POST',
      data: reader.result,
      success: function(response) {
        // Handle the server response here
      }
    });
  };
});
In this example, we’re listening for a change event on an input of type file. When a file is selected, we read that file as a DataURL using FileReader. Once that’s done, we make an AJAX request to ‘/your-endpoint’ and send along our Base64 encoded image.
Please note that in order to use jQuery’s $.ajax method, you need to import jQuery into your project.


